.: Overview
This is a replacement of Episodes I, II, & III of the Ultimate DooM. The text file indicates that the Construction Base of the wad is "new from scratch". However, it would be more accurate to say that Episode III is new from scratch, and the secret levels in Episodes I & II are from scratch. The 8-map Episode I was released by the author in November 2009 and the 8-map Episode II was released a year later. Therefore, this release is a compilation of earlier releases (plus some bug fixes), a couple of secret levels for those episodes, and a new 9-map Episode III. As the first two episodes were already previously reviewed on The /newstuff Chronicles (#359 and #379 respectively), this review is limited to the third episode and the two new secret levels.I played each map with a pistol start on UV skill. While I kept an eye out for secrets, I avoided using the items in the secret areas as much as possible to make sure the secrets were not essential to the completion of each map. I used GZDooM with no cheats to "combat-test" the game, and my review is based on this version. (I did, however, play through using Chocolate DooM (and cheats) to ensure that the game played as intended.) Aside from mouse-look, I did not use other features of GZDooM; in particular, I did not use jump or crouch at any point in the game.
.: The Look & Feel
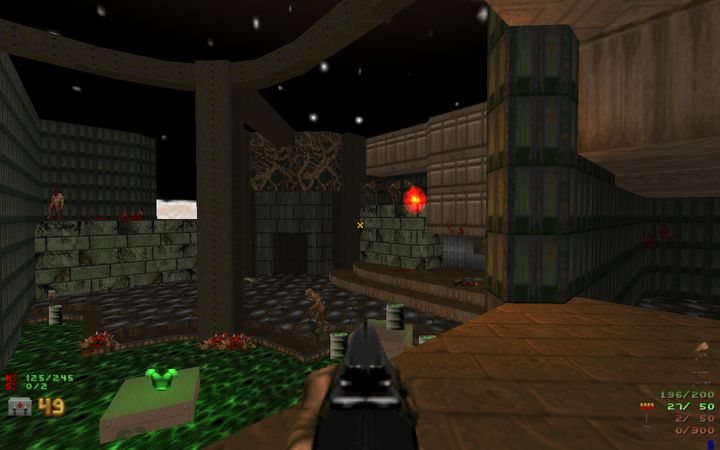
The compilation has many new aspects, including a new TITLEPIC screen, new demos, and new music, all of which add layers of appeal to the game. The level design varies from competent to superb, the architecture is uniformly well-done, and the gameplay is often inspired. Overall, there is a good balance between opposition and weaponry, ammo, health & armor, and powerups. (Although, in a couple of maps I found I didn't need the blue armor that was provided, and in one map the BFG was entirely superfluous.) Traps abound, but few are truly cruel, and the author generally provides a "back door". The Jupiter sky lends an otherworldly air to the game, and the new music provides a decent-enough backdrop for the slaughter at hand.
.: Gameplay
Most maps have good progression, with optional paths and back-tracking required. Combat is frenetic, with some nasty traps. The author often puts you in a situation that requires you to take punishment until you've found a safe place. The trick is to find the "safe" areas where you have some cover or are not surrounded by enemies. This style of game design is characteristic of this author, and requires occasionally bold tactics on the part of the player to find ammo or cover, or to encourage monster in-fighting. In the early maps the traps start becoming predictable, but then by mid-game the author throws you a curve ball by shedding what some players would probably label "cheap tricks". The author uses vanilla DooM editing tricks to good advantage, providing for some truly surprising and jerk-inducing moments.
.: Questionable Choices
The author made a few choices that I found questionable. The Episode III secret level was a disappointment that almost seems to be thrown into the set as an afterthought. Aside from being fairly brief, it was populated by only the weaker enemies and felt out of place among the tension-filled maps of the set. Additionally, the bright, grey-hued base theme of E3M4 did not fit alongside the dark themes of the other maps. There were a couple of instances in E3M7 where an enemy-blocking linedef and a narrow, bottle-necking passageway made it possible to camp at a safe distance and whittle away at the resistance. But these are minor objections that do not deter from the overall quality that comes shining through.
.: Mission Summaries
E3M1The map starts off quietly, with nary a whiff of the hell-spawn you expected to see. There's still time to effect a relatively dignified withdrawal, but you choose to press on. Right from the moment that you take the plunge and step around the corner you will need to demonstrate that fleetness of foot about which you have often boasted. Finding a shotgun near the start makes your task somewhat easier (and more enjoyable), but it's still no walk in the park. While there is plenty of ammo, health is somewhat scarce. The architecture is attractive, with sweeping curves and plenty of height variations. There is good map progression, with optional paths and back-tracking required. Combat is frenetic, with some nasty traps. [It is possible, even desirable, to get a couple of barons to fight each other by allowing one of them to destroy nearby barrels.] Generally, the trick is to find the "safe" areas where you have some cover or are not surrounded by enemies. The secrets are well-hidden, with one of them being in plain sight; unfortunately, I was unable to find either of the two secrets.
E3M2
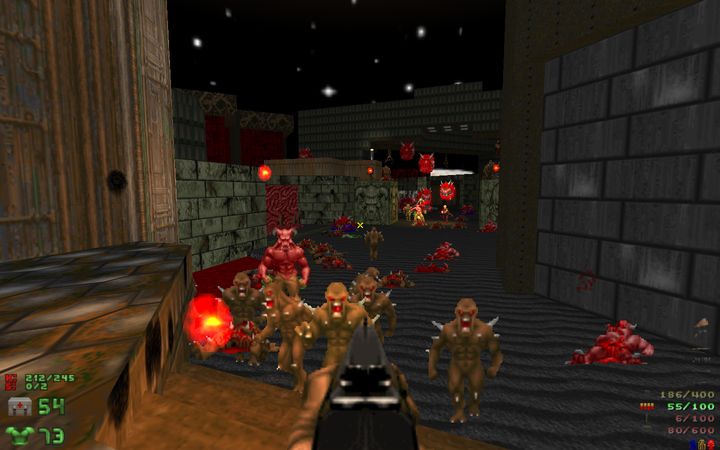
The action starts immediately, with swarms of imps advancing upon you while corralling you in a narrow space that gives you little room to maneuver. Thankfully, you get a chaingun right away, and you can thin out the marauding hordes while chuckling as they do the rictus dance before keeling over. Naturally, as soon as you have the opportunity, you dart around the corner to find some cover, only to be faced with a huge nasty wielding a pair of large guns. You hurriedly back-pedal and seek out other cover, while desperately searching for the meager supply of health packs that are available in this map. There is plenty of ammo, and its certainly adequate to deal with the resistance, which consists mostly of weak- to moderately-powered enemies. There is an intense battle at the climax, which becomes tedious after a while as you duck behind cover, step out to encourage monster in-fighting, and duck right back to avoid getting slammed by an errand fireball. The map design is marvellous, with many interconnecting areas and some back-tracking required. Finding a secret near the exit is key to getting a 100% kill rate, as otherwise the ammo, weaponry, and cover available is sorely inadequate to dispatch the aforementioned "huge nasty".
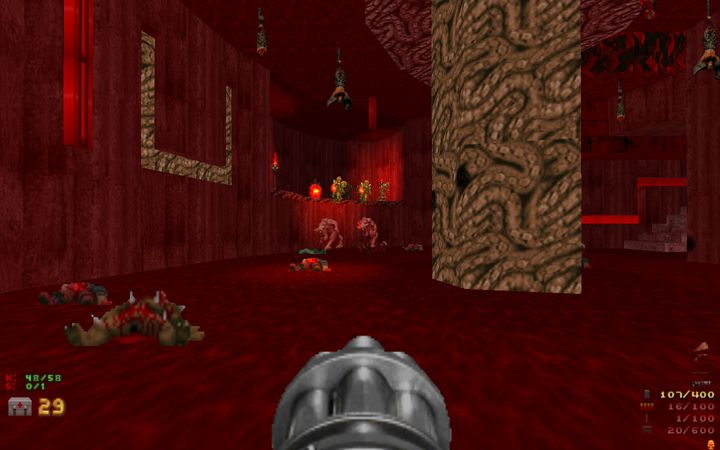
E3M3
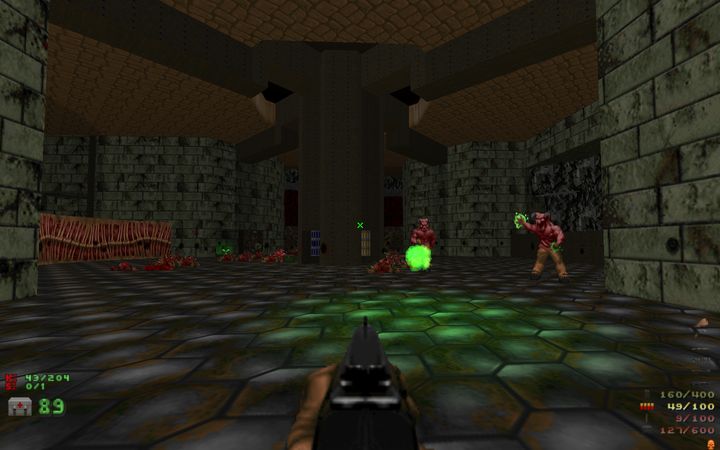
The quiet start belies the action that awaits behind the curtain. There is plenty of scope to provoke enemy in-fighting, which is often essential to allow you to conserve your ammo. By this point in the game the traps are starting to get predictable - pick up a key, the ravening hordes materialize; press a switch, the marauding masses assemble; approach a heavy weapon, the uglies descend. Frequent save-games are recommended, as you are often required to back up into confined spaces with little room to maneuver. Also, after a while it became tedious to deal with barons with just a shotgun. The map itself has a nice, non-linear progression and a suitable hellish atmosphere. The only time I was confused about what to do next was when I pressed all the three keyed switches and couldn't remember where the exit was. Pulling up the auto-map allowed me to figure it out.
E3M4
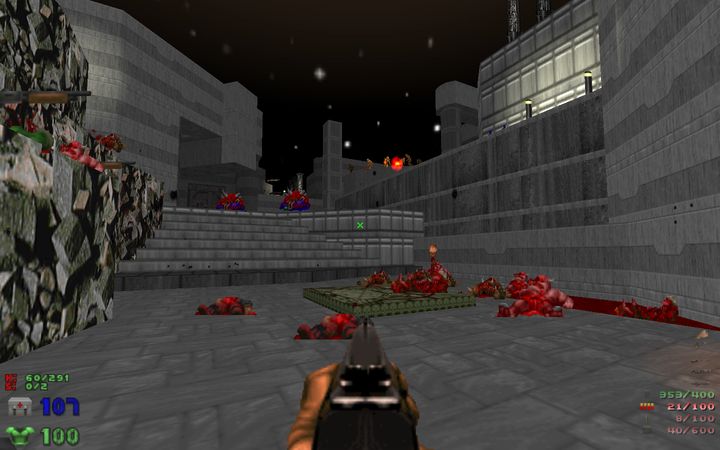
In this map, the author has moved away from the hellish theme of the previous map and created a grey-hued base. The non-linear map design includes interconnected areas and back-tracking, but it's well-laid out and seldom confusing. In general, I found this map to be *much* easier in the gameplay department than the earlier maps. The one exception was the trap at the red key, whis was nasty and bordered on frustrating. The boss battle was challenging without being overwhelming. Perhaps this map would have been more suitable in an earlier slot, but perhaps the author felt that the presence of a boss that you are required to defeat (unlike in E3M2) warranted a later slot. There is plenty of ammo, high-powered weaponry, and a reasonable amount of health. I found there to be an excess of armor, and didn't need a blue armor that was available mid-game.
E3M5
This map moves back to a hellish rock and GSTONE theme, with plenty of blood pools. There is medium resistance at the beginning and, surprise! surprise! no trap at either the openly available plasma rifle near the start or the yellow key a little later. There is, however, a nice trap (via an instantly-rising lift) behind the yellow-key door. The map design is relatively straightforward, with some back-tracking required but otherwise unremarkable. The secrets are much easier to find, and I managed to get them all. Both the boss battles are easy, with powerful weapons at hand and plenty of room to maneuver. In fact, even though the BFG was available for the second boss encounter I did not use it, nor indeed did I need it. In addition, I found that the blue armor was excessive.
E3M6
This map starts with the obligatory swarms keenly intent on ramming their rage down your throat, but a suitable weapon is readily available. Ammo and health are *extremely* tight at the beginning, but the situation gradually gets better. Overall, however, I found that the level of resistance was much easier than in earlier levels (particularly E3M2 and E3M3). The exception to this observation was the intense trap at the red key, which will challenge even the most intrepid player. The map progression is simple, and the secrets are relatively well-concealed, but I managed to find them both to open the door to the secret exit. The one design choice I question was the author's decision to provide the rocket launcher (at the yellow key) with no commensurate battle following.
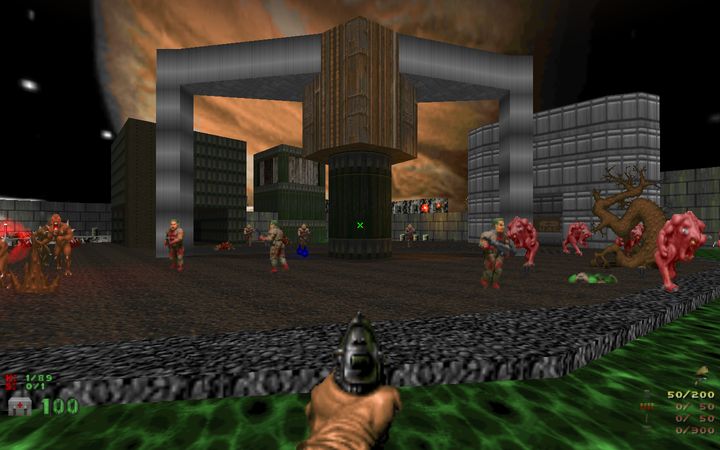
E3M7
The action begins nicely, with you being surrounded by a medley of assorted villains that allow excellent opportunities to promote in-fighting. The "hub" structure of the map allows you to explore different areas of the map in any order, and the areas have an interesting layout. There is a boss fight after you pick up one of the keys, but you are given enough ammo and health to cope admirably. I did have a couple of issues with the map that made the fights much easier than they could have been. Firstly, on the way to the blue key there is an enemy-blocking line at the doorway to the outside. This makes it easy to camp and clean up. Secondly, the corridor from the BFG to the central area of the map is too narrow at one point to allow cacodemons to pass. This effectively causes the enemies behind the cacos to take them out while you sit back and enjoy the show as you wait for the survivors.
E3M8
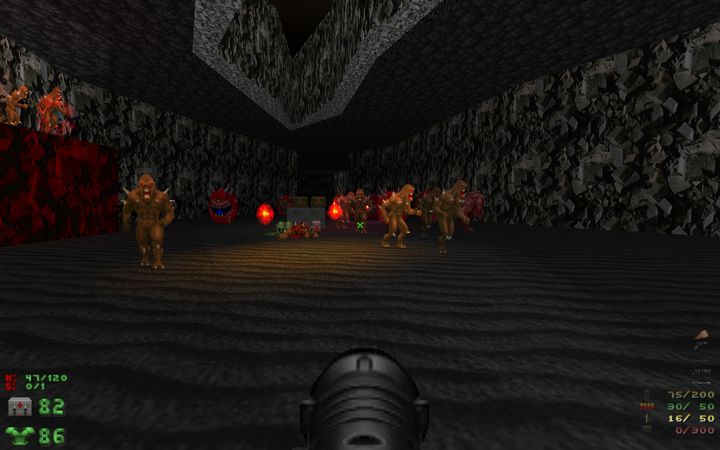
This is a fitting end to a solid map-set. As always, enemy in-fighting is encouraged, particularly in one nasty encounter with two bosses. The end battle is a good variation on the standard E3M8 Spider Demon fight, and creates the right amount of tension. The level design in virtually completely linear, and the author uses some nice trickery to spawn goodies and enemies. E3M9
This is a small, hell-themed map with simple progression that requires a little back-tracking. It only uses enemies from the bottom of the totem pole, but (as usual) they are used in numbers that can be detrimental to your health. A rocket launcher is hidden away in a secret area, but you do not need it to deal with the opposition. Overall, I found this to be a disappointing secret level that almost seems to be thrown into the set as an afterthought.
E1M9
In contrast to E3M9, the secret level in Episode I is very nicely done. The start is typical, with the author throwing the player in a big, open area filled with light-weight enemies that come gunning for you immediately. The trick is to quickly reach the chaingun at the far end (or the lone shotgunner near it and relieve him of his hardware) before you're overwhelmed. Health is quite tight in the beginning, but you're given enough ammo to blaze your way through. The traps range from easy to moderate, and the situations you're put in generally allow you to manage without repeatedly having to call up saved games. The progression is straightforward, with a simple map design and attractive-looking architecture. The nukage channel leading to the red key is a clever way of requiring the player to go through a gauntlet of enemies. Overall, this is a nice complement to the map-set.
E2M9
This map starts off relatively quietly, and a shotgun, chaingun, rocket launcher, and plasma rifle are provided in quick succession. Health is tight after the rocket launcher, despite the in-fighting that you are expected to provoke. The finale gets the adrenaline going, pitting you against a host of baddies, in close quarters, intent on ripping your jaw off your face. It leaves little room for error, as there is no health in that area once you get the battle started. The map progression is the most linear of all the maps I played in this set, and the architecture is somewhat simple. Despite that, however, I'd have to say that this is a very nice secret map.
.: Wrap Up
In summary, this map-set is full of pleasant twists and turns. Like typical maps made for many of The Ultimate DooM episodes, you may have expected to be met with light to moderate resistance and be able to blaze through. That was likely your first mistake. Using only DooM I enemies, the author has made these maps extremely challenging, to the point where frequent save-games is recommended. The second mistake you may have made was that you expected the game to resemble the blocky, simplistic-looking maps of yore. To your surprise, you find that that this ain't your father's Oldsmobile. (Oops! Wrong cultural reference.) The author has crafted maps with interesting-looking architecture, proper texturing and alignment, good lighting, and detailing appropriate for a vanilla-DooM mod. The third mistake you may have made was assuming that there would be "standard" traps. Instead, you are faced with enemies popping up in your face (via clever use of instantly rising or lowering sectors). Finally, perhaps you were figuring that with your eagle eye all the secrets would be revealed to you. There again, you'd be dead wrong. The author has brought all his ingeniousness and deviousness into concealing the secrets (perhaps as a way of giving the figurative middle finger to those that criticized his earlier released episodes for lacking secrets). In my opinion, this is as good a way to spend a couple of hours on a Saturday afternoon as any other. You'll be glad that you dis (sic!)