.: Overview
This is single map replacement for E2M7 of the Ultimate Doom. [Note, that the text file incorrectly indicates that this is for E2M6.] It was originally intended to fill the E2M7 slot in the well-known DooM the Way id Did (aka DTWID) mod. However, as it was deemed too big for an Episode 2 replacement, and had to be released separately. I tested the map with vanilla (Chocolate) DooM and GZDooM, and it ran flawlessly in both instances.The map is sprawling and branches off in different directions, occasionally reconnecting in places. This may create disorientation the first time this map is played, but it also lends a replayability value. In keeping with being vanilla DooM-compatible (and the DTWID theme), the architecture and detailing are somewhat plain. Still, together with the texturing, the map has a decent visual appeal. Gameplay mostly delivers, and the opposition ranges from cannon-fodder to all the tougher enemies one associates with Episode 2.
.: Map Design and Appearance
The map design relies on the standard objectives of finding all three keys to reach the exit. Note, that there is more than one door in different parts of the map that requires the same key. For example, the yellow key may be used to open two different doors, and the area behind each door eventually meets the other. This allows for exploration and offers path options; undoubtedly, it will add replayability value to the map.Progress, at first, appears chaotic; various path options present themselves, and I found myself stumbling around as I sought to get my bearings. Heeding the advice in the text file, I periodically referred to my auto-map. Gradually, the intended progression began to emerge, and I began to get more comfortable. Some areas open up after completing an objective, or teleporters become accessible, preventing unnecessary back-tracking. The utter non-linearity of this map begs for it to be played again (which I may do, if time permits).
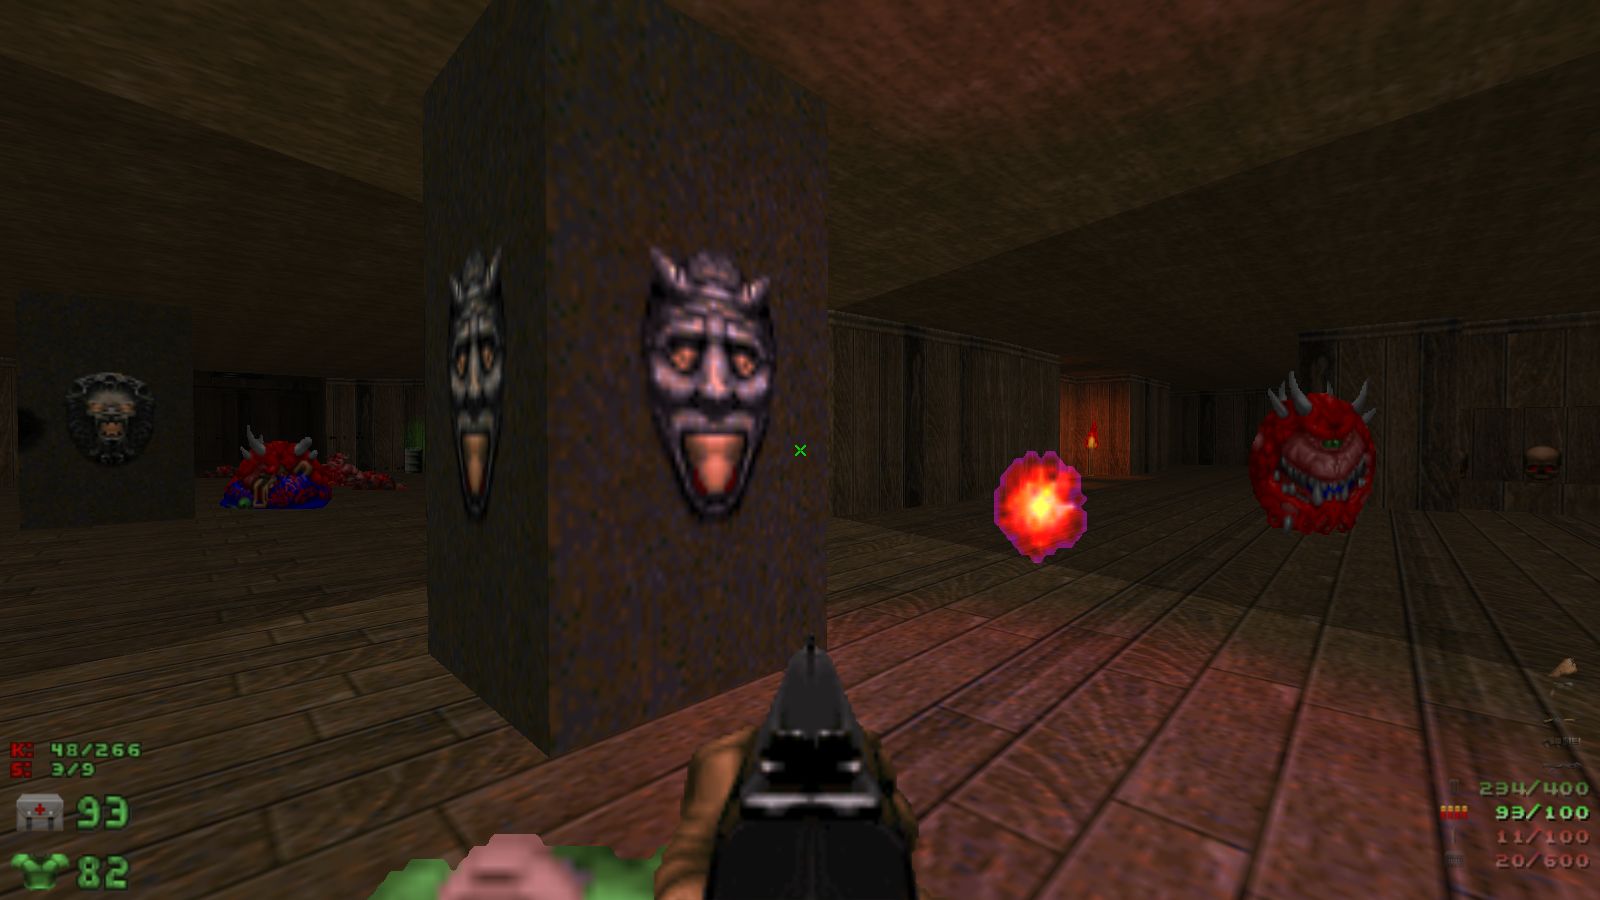
There is a variety of texture themes employed in this map, ranging from tech to wood to stone. This is in keeping with Episode 2 texturing; within this context the texture variety is not by itself a bad thing. However, it's possible that it has been carried a bit too far in this map. There are some instances of texture misalignment, but again, this is consistent with the texturing in the original Episode 2. Mostly, however, one has to be paying attention to this aspect of the game in order to notice.
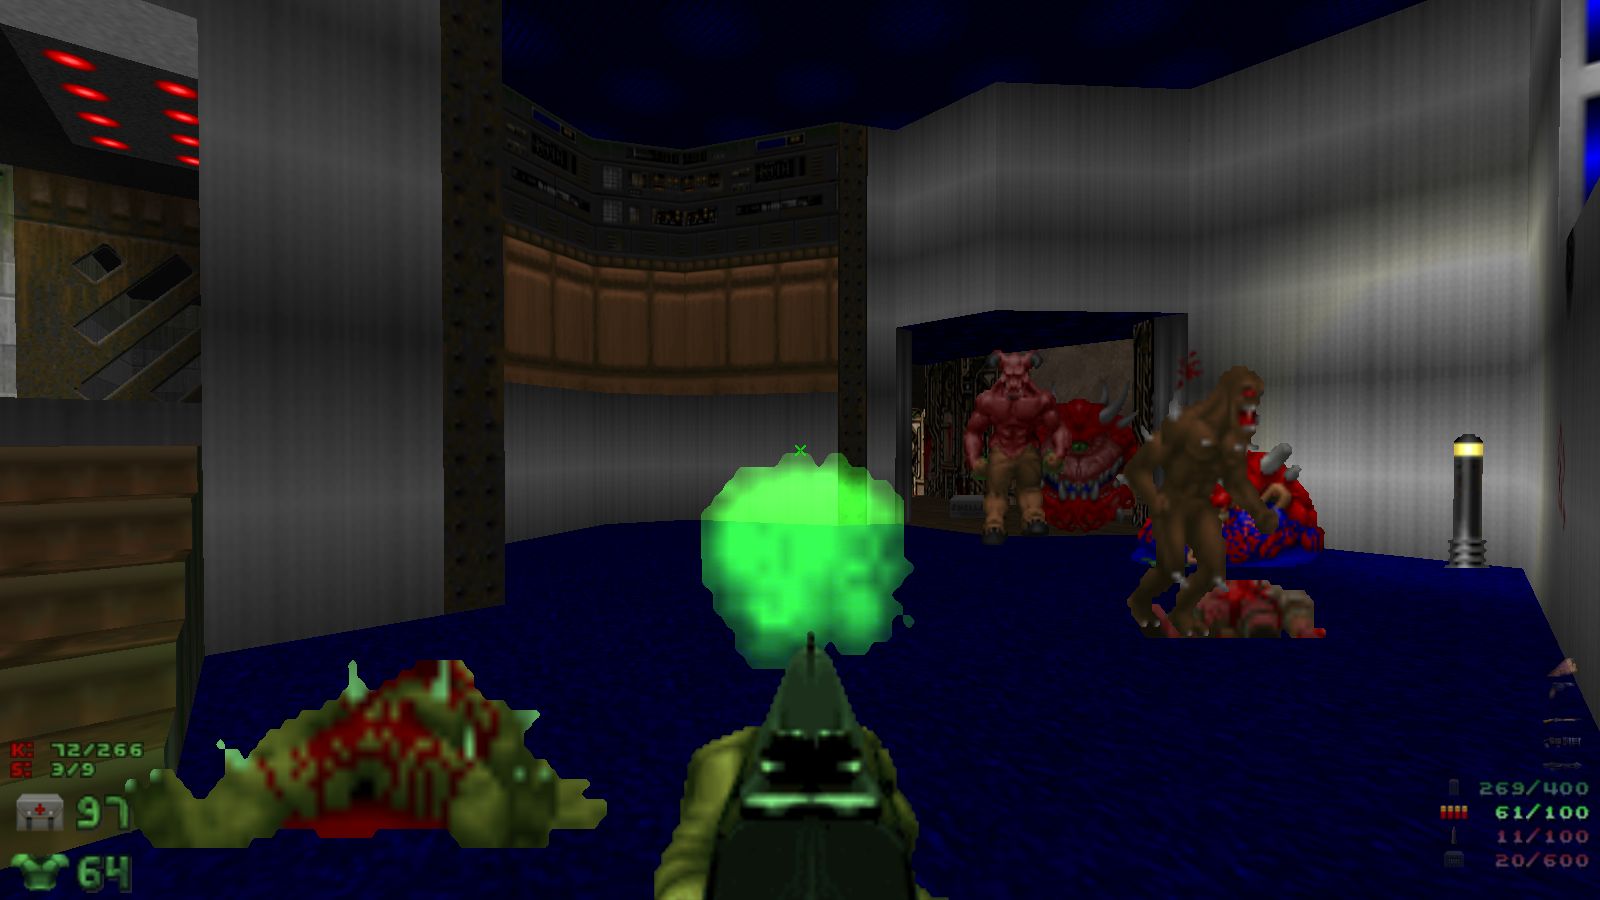
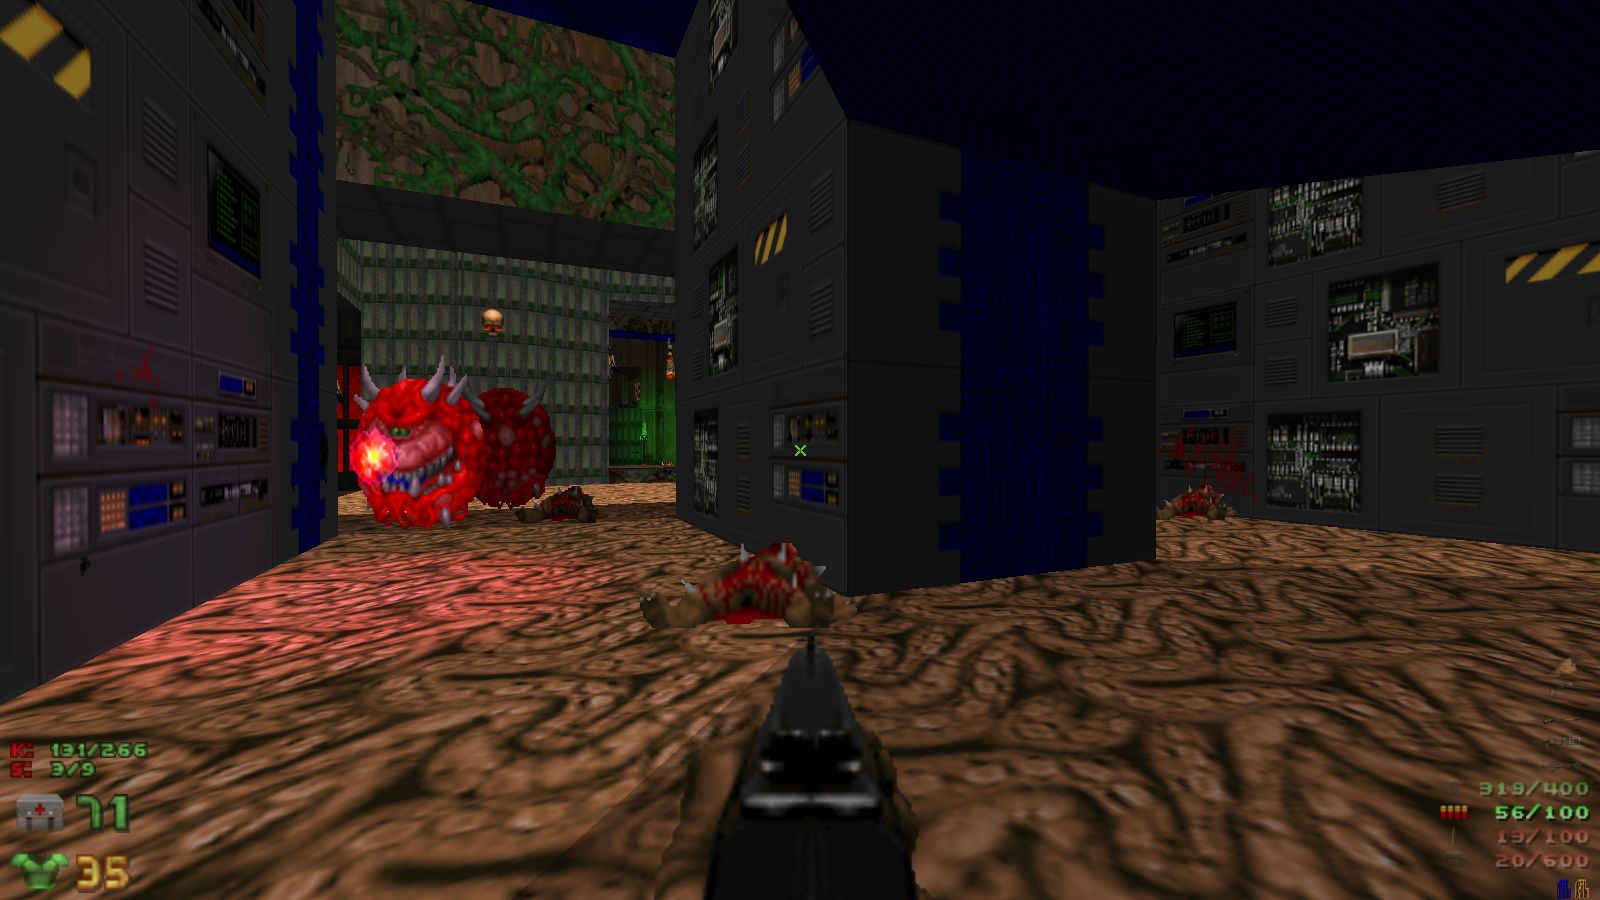
The architecture and detailing are adequate in some places and bare in others. This gives the map a slightly discordant feel at times, particularly when transitioning from a visually-appealing section to one that is plain-looking. [Most notably, the ceilings in many areas are utterly devoid of decoration.] On the positive side, this allows the map to be played with vanilla DooM. Height variations are used quite well, as are indoor and outdoor areas. Lighting is nicely done, with some dramatic instances of blinking lights. In general, the architecture does not impede smooth movement, and I was rarely getting snagged by supports and corners as I dodged enemy attacks.
.: Gameplay
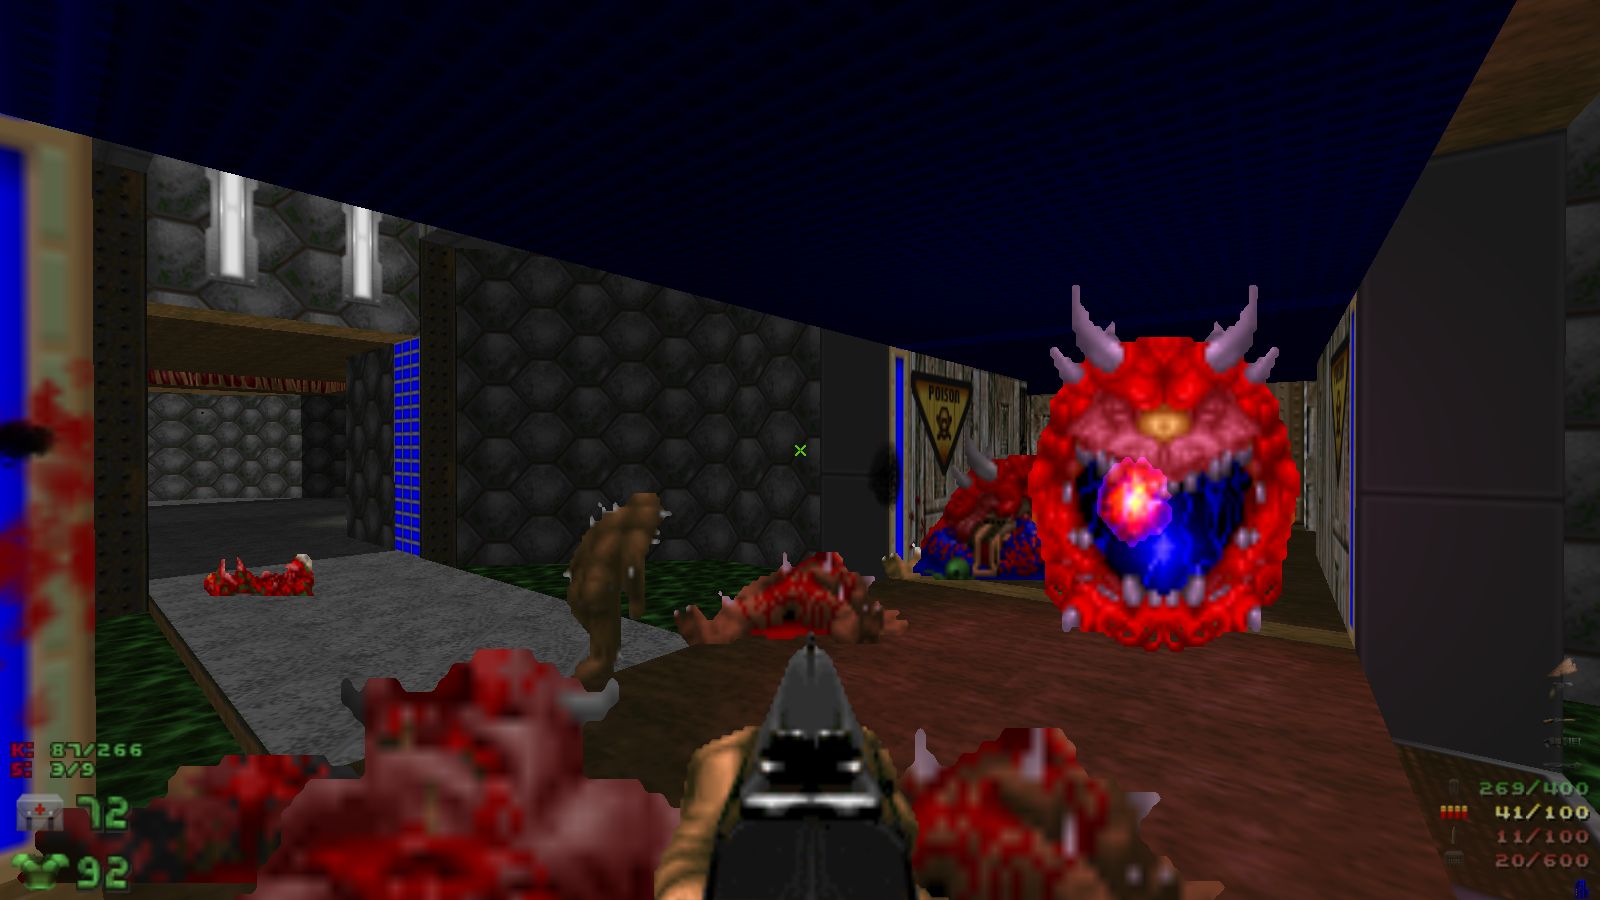
The map starts with moderate resistance, but very quickly ramps up quite steeply. There is the usual assortments of Episode 2 denizens, beginning with the human and imp variety, and graduating through demons, lost souls, and cacodemons to barons. The barons, in particular, are encountered in close quarters - making them particularly dangerous. After having being spoiled by the super-shotgun in DooM2, I found it somewhat tedious to pop away at advancing barons with just a shotgun. But, for the most part, it was not a frustrating experience.In general, there is plenty of ammo and armor, and a fair amount of health. After the yellow key ammo gets scarce for a while, but finding the berserk helps greatly. After picking up the red key there are hordes of enemies, but virtually no ammo, and a berserk pack only goes so far against barons and cacos. This would be a good time to pull out the rocket launcher and use those rockets you've been saving for a special occasion. The traps are nicely done, mostly via teleporting enemies or swiftly opening doors. The teleporting enemies have been well-implemented, offering more than one fight in areas the player must repeatedly visit.
There are several secrets to hunt down, some of them being easier to find than others. I liked how some secret areas were visible, the trick being to discover how to access them. My general rule of thumb is to find as many secrets as I can, but refrain from using the powerups or items in them if possible. The single backpack in the map is found in a secret area. I question this choice, as the size of the map and the stiffness of the resistance demands the ability to carry more ammo. In the absence of the backpack, the player would need to periodically back track to hunt down ammo caches previously left behind.
.: Nitpicks
There are a few minor issues to point out. First, there is an inescapable nukage pit surrounding the Soulsphere behind the yellow key door. Don't make the mistake of jumping down in the hope of finding a secret. Second, it is not possible to get 100% kills - there are three monsters in a trap area with only two single-teleport lines. This means that only two out of the three enemies will make it into the player's game space, and one will forever tread the lonely wastes. Third, and this is a very minor nit-pick, the BFG is in an area that ought to have been marked as a secret. [By the way, I consider the BFG to be entirely gratuitous, as the resistance does not warrant such a powerful weapon.]
.: Wrap Up
In summary, this is a large, non-linear map that requires periodic back-tracking. Despite these points, however, the map offers surprisingly continuous opportunities for combat. The fights are sometimes difficult, but generally quite fair, and you are provided with adequate weaponry for the tasks at hand. Recommended, not least for its replayability.