.: Overview
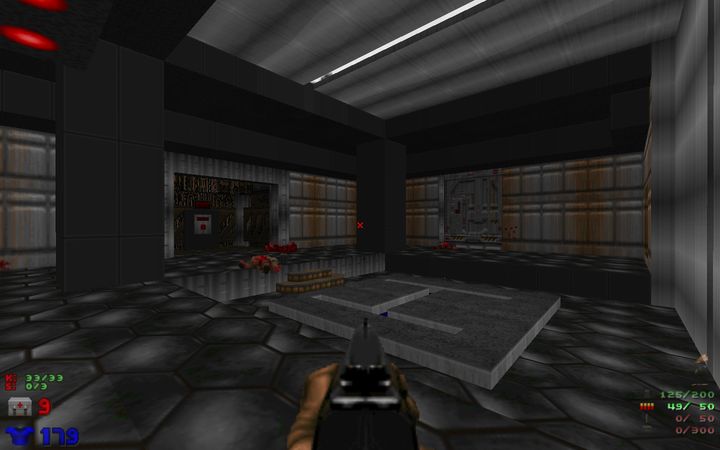
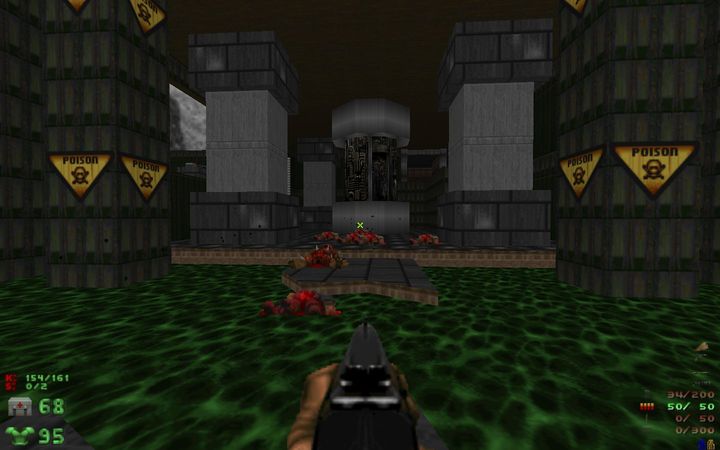
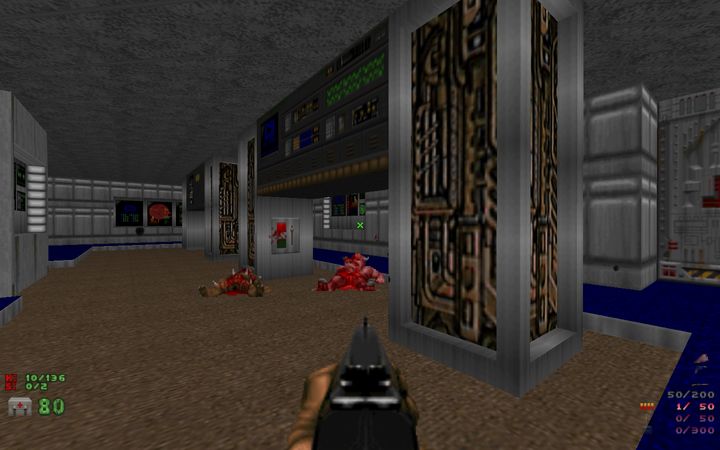
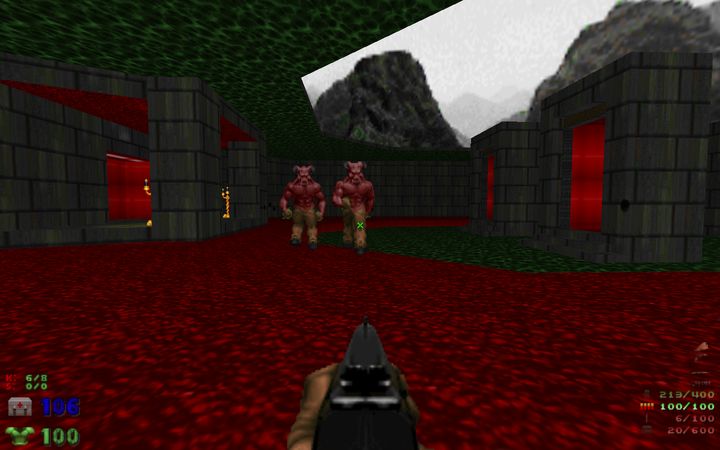
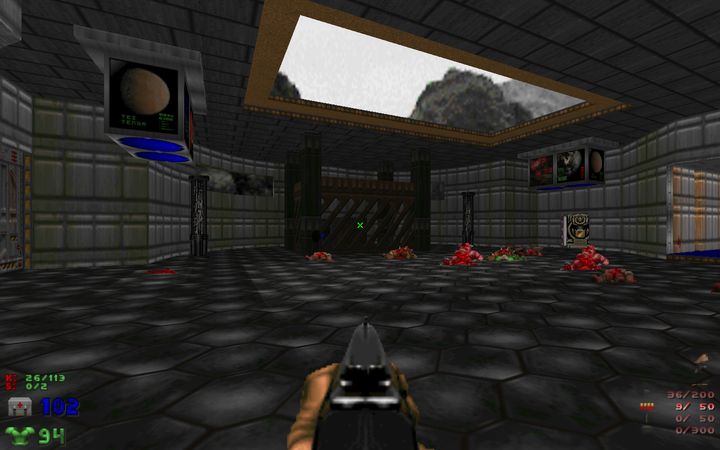
This is a nine-map replacement of Episode I of The Ultimate DooM. The author created Map E1M8 for this compilation, and used previously published maps by other authors to fill in the other 8 slots. The text file credits the individual authors, and identifies the names of their respective maps. The author made "a couple modifications here and there to not use textures outside of DOOM1.WAD and to vanilla-ize" each map.Considering that this is a collection of maps from seven different authors (three maps are by the same author), there is a remarkable consistency in the look and feel of the set. The architecture, detailing, and texturing are by-and-large very well done, and the ideas could conceivably have sprung from a single mind. ["Humanity moving towards a hive-mind" conspiracy, anyone?] Also, for the most part, the difficulty level and pacing are appropriate to the progression of the maps. While the original authors obviously deserve credit for their own work, this author deserves credit for assembling a set of maps that appear to have been crafted specifically for a Team release.
.: The Look & Feel
The map design of most maps borders on the professional. They take full advantage of non-linear pathways without being confusing, use inter-connected areas and back-tracking very well, and occasionally offer side paths for optional exploration. However, the one map that overdid the whole back-tracking gig was Map E1M6, which made progress both tedious and confusing. But otherwise the maps had a smooth flow, even when there were constant switch-hunts. [Map E1M9 is a perfect example of switch-hunting, but the author provided clues regarding what the switches did, allowing for uninterrupted mayhem.]
.: Gameplay
The gameplay is typically quite enjoyable. Most maps are even- to fast-paced, and pit the player against a manageable assortment of hell-spawn. The player is generally given adequate resources to move with alacrity through the game. Several maps stand out for their clever use of traps, which will keep the player on his/her toes without requiring frequent reloads of saved games. In other words, the game offers a challenge commensurate with what one would expect of an Episode I set.
.: Questionable Choices
Alas, however, not every map is enjoyable. Map E1M7 suffers from a chronic dearth of ammo, health, and armor for most of the level. Even after making every shot count, maximizing monster in-fighting, and going Tyson on their asses (sans Berserk, mind you) whenever I could single them out, I was at 31% health midway through the level with no ammo and facing 6 imps in a relatively open area. I persevered, however, repeatedly bringing up my saved game whenever an imp had shoved his fist up my ass and ripped my intestines out. I didn't use any cheat codes, and finally eked out a win. Not my idea of fun. Additionally, the finale (E1M8) is very tame, despite starting off with some promise. The author could have upped the ante considerably, but instead created an easy final map and a boring boss battle.Indeed, not every map is free of bugs either. Map E1M6 has, what appears to be, a node-building error. Either that, or the author messed up the floor and ceiling heights, resulting in the dreaded Hall of Mirrors (HOM) effect (see screenshot 6a). What's worse is that you're required to traverse that area in order to make progress, but once you fall in you're trapped. I went back and played the original map [Phobos Outpost (db_opost.wad) by DooM Boy] and saw no such error. Obviously, this error was introduced when the map was being modified for inclusion in this compilation. What surprises me more, however, is that neither the author nor the play-testers caught this. This is a "fatal error" that makes the map unplayable. [I tested it both with Chocolate DooM & GZDooM.] Another problem occurs in Map E1M7, and if it isn't a bug it's at least annoying as all get-out. In the North-Western quadrant of the map is a SoulSphere in a 32-unit deep slime pool. Once you pick up the goodies you're stuck in the pit until you dissolve slowly into a puddle of goo. But not before you've repeatedly thumped your forehead against the keyboard because you let the steenkin' author rip yet another orifice out of you.
.: Mission Summaries
E1M1This is a nice, fast-paced level with light to moderate resistance. The architecture is decent, with several short side-paths for optional exploration. The level is very light on health, but there is plenty of ammo. Secrets are reasonably well-clued, but you get credit for two secret areas by finding a single secret item.
E1M2
This is another fast-paced level with tougher enemies and a few traps. It has good architecture, with a generally linear path that loops back around, showing areas you'll visit later. There is plenty of health, armor, and ammo, but poorly-clued secrets.
E1M3
This map presents good opportunites for monster-infighting. There is a tough trap at the yellow key, but otherwise the gameplay is smooth and fun. The level has good map design (with connecting areas opening up as you make progress), and decent architecture. Some secrets are head-scratchers, but each one has clues.
E1M4
This is a fast-paced level with nice traps and plenty of switches, but at no time does it get frustrating. The progression is straight-forward, with some tight fights, and a nicely interconnected map design. The architecture and texturing are pleasing.
E1M5
There is a short & sharp battle for the shotgun at the map start, and health is tight in the beginning, but strategically-placed barrels abound. The SoulSphere is alluring, and almost within reach, but it's not ready to be plucked. The map has a nice flow and inter-connectedness, with plenty of back-tracking. There are nice little traps, a good supply of ammo & armor, and adeqate weaponry. There is nice architecture and texturing (albeit with one minor instance of HOM error), and cleverly-marked secrets.
E1M6
This is an even-paced map with no shortage of ammo. Unfortunately, there is a significant HOM error that also doubles as an inescapable pit; to make progress you have to pass that area, but dropping in the pit traps you in there. I played the original Phobos Outpost (db_opost.wad) by DooMBoy, and there was no such error. I found the map to require an excessive amount of back-tracking, which often made for confusion and slow progress. There is, however, a nice trap at the red key door that should keep you hopping.
E1M7
The level starts excitingly enough, with you being threatened by swarming enemies. If you escape that, you'll find yourself in a well-designed map with nice-looking architecture and good texture choices. Unfortunately, there is a severe shortage of ammo and health, and even with careful playing I was outmatched and outgunned. I finally picked up the chainsaw towards the end of the map, by which time it was too late to salvage the map. I also found the switch-hunts to be excessive and unnecessary. The SoulSphere in the secret area outside is in an inescapable nukage pit, there's a green armor and backpack at the very end of the map after there are no enemies left, and the exit area is damaging. I don't usually say this, but avoid this map with a ten-foot barge pole.
E1M8
This map is more-or-less a copy of the original Phobos Anomaly, but considerably more straight-forward and easy. The map starts with a bit of a challenge, and after you've mastered it you head upstairs to meet the twins. Even without the rocket launcher this boss battle was a breeze.
E1M9
There is a nice challenge at the start, a nice trap at the SoulSphere, and nice traps in general (almost every step of the way, but not so much to weary you). Watch your inventory of shotgun shells, but you can afford to let loose with your bullets. There's a comfortable amount of health & armor. There's a generally linear progression, with returns to areas previously visited/cleared. The architecture & texturing are nicely done. There are plenty of switches, but there's typically very little hunting required, although the secrets are diabolical. Speaking of secrets, it appears that one of the secrets may be unobtainable - the door to it is tagged, but does not have a trigger.
.: Wrap Up
In summary, this is a decent Episode I replacement that could have been outstanding were it not for a couple of laggards in the bunch.
